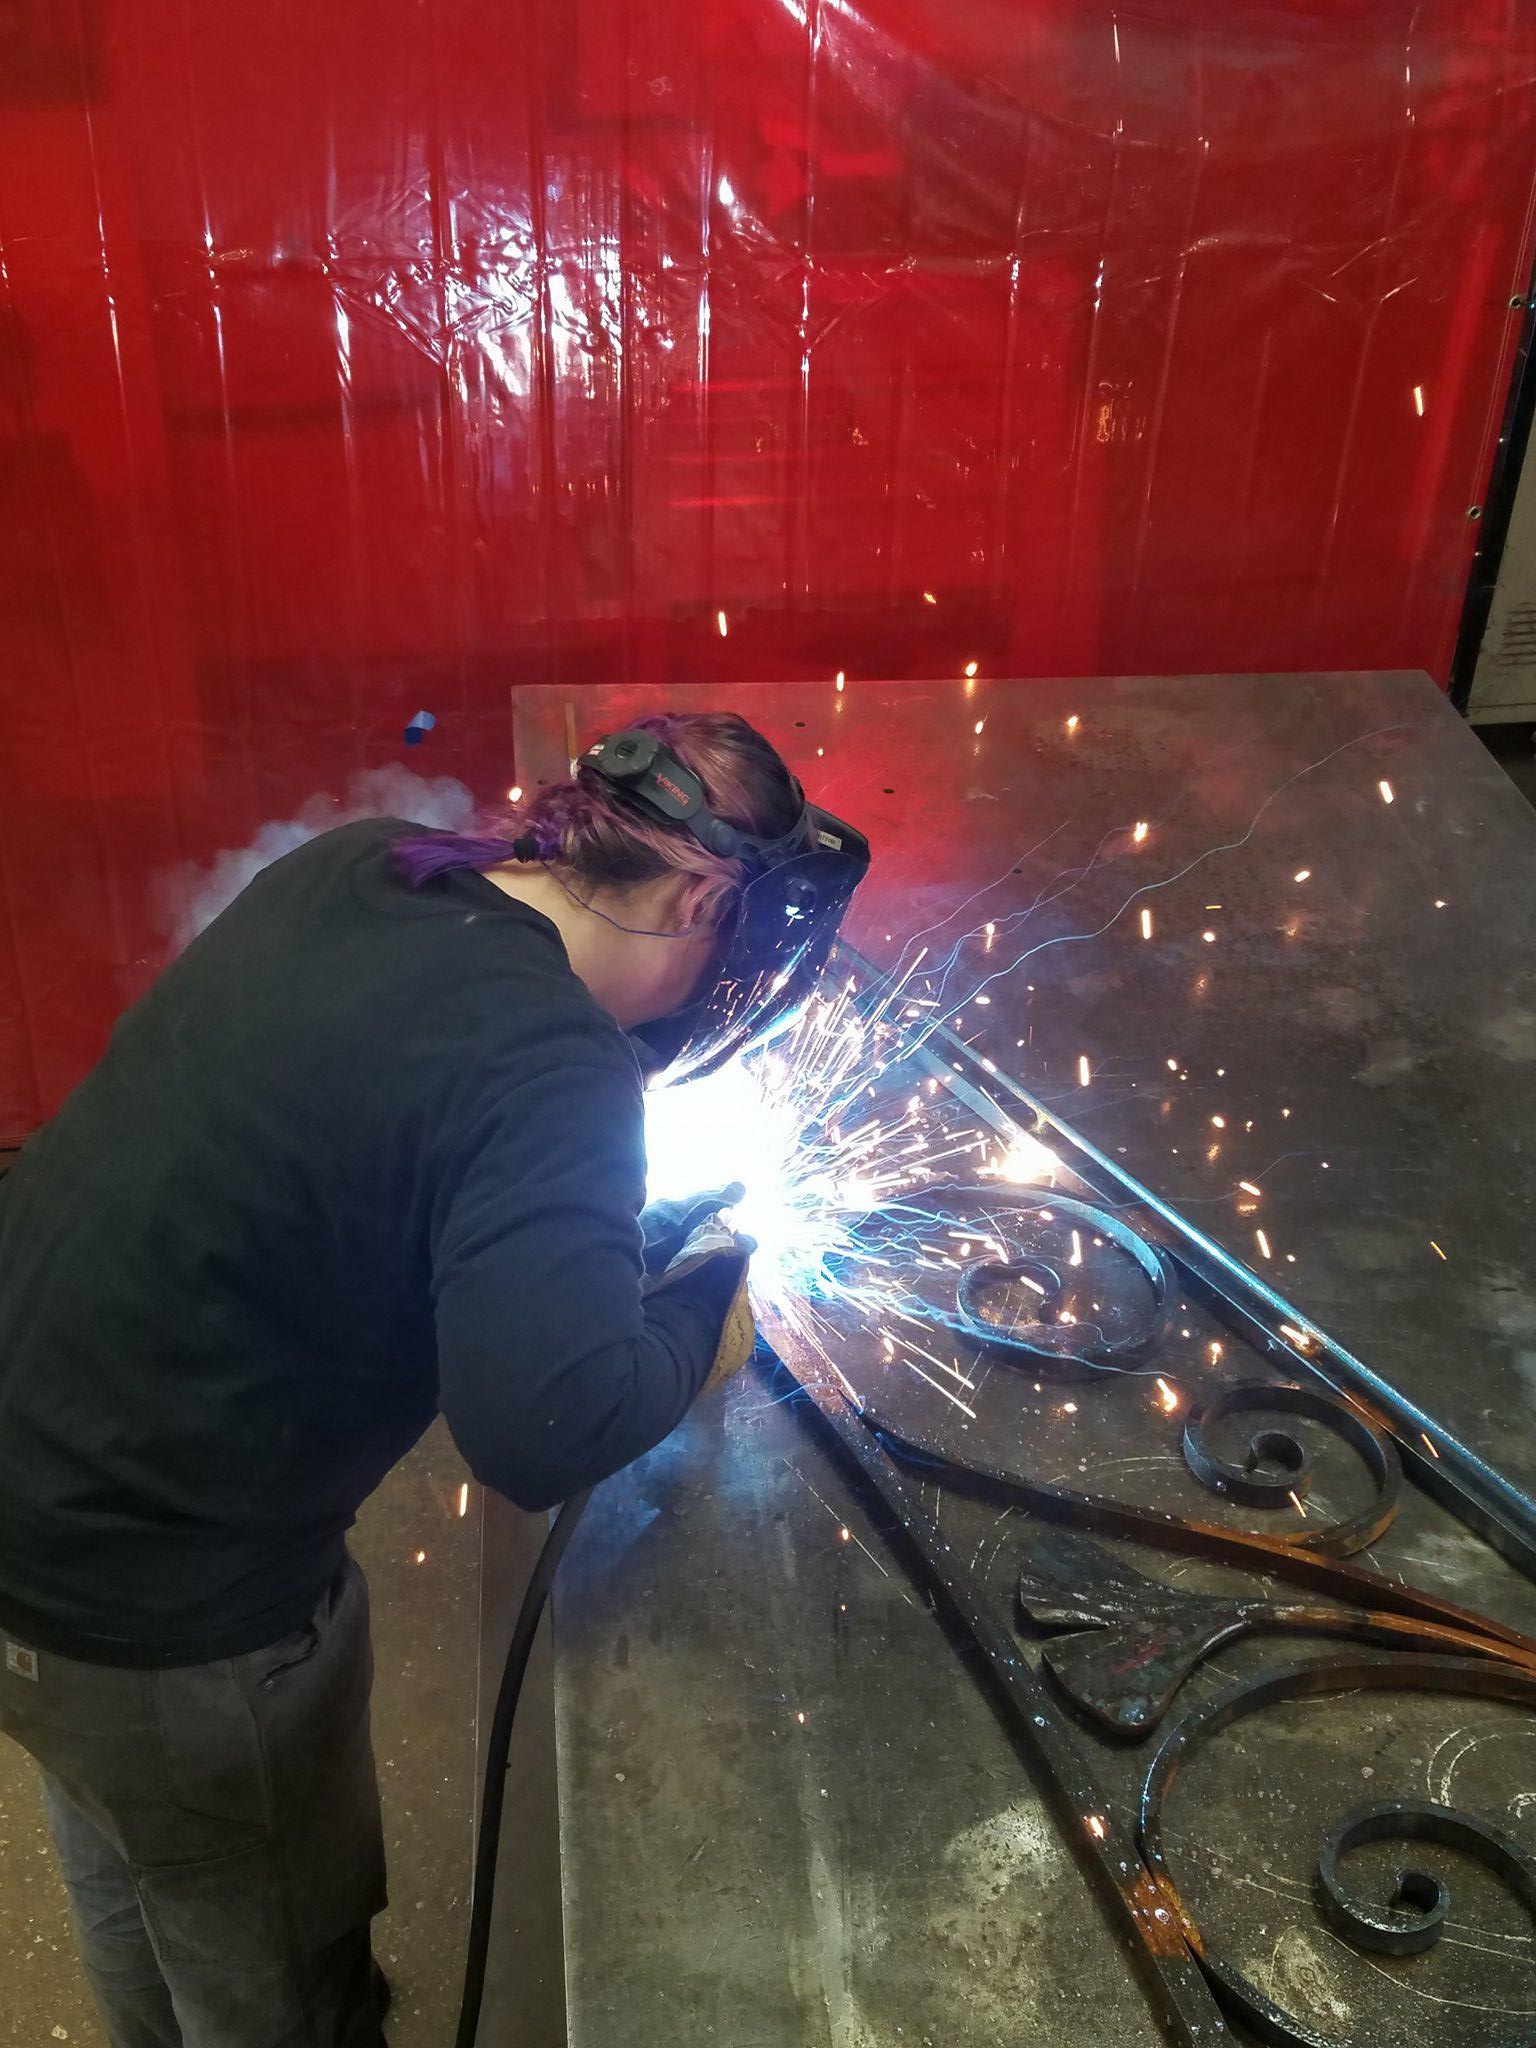
Once the design process is complete and the drawings have been approved by the client, the fabrication process can begin in our studio.
The first step is creating a cut list of the metal stock that will be used in the construction of the pergola. Once the pieces are cut and shaped, they are laid out according to the shop drawings and checked to ensure that all dimensions are correct.
When fabricating a project where there will be more than 1 of a piece, we will create a jig that can speed up the process. A jig is a large brace that keeps a welding project stable in the face of pressure, heat, motion, and force. A quality jig will streamline welding work by keeping parts together in a vice grip. This ensures uniformity throughout the construction.
The pieces are then prepped, and tack welded. Before fully welding the trusses together, they will once more have the dimensions checked for accuracy.
After the welding is complete, and depending on the level of required finish, the welds will be ground and sanded to a specific standard set by our shop.
Shown here, is one of two decorative ginkgo trusses complete and ready to be painted. This pergola will be finished with a flame spray zinc metallizer to prevent rust, and then powder coated in the client’s color of choice. This combination creates a finish that will last for decades.
Here is the completed top of the pergola mocked up at our shop to be receive final approval before it’s sent to be metalized and painted. Once we receive the powder coated pieces, our last step will be installation by our talented crew. Please keep an eye out for Building a Custom Pergola PT. III; the installation process.


